How to: lacquer doors
Which paint do I need to lacquer my wooden doors? Can I also lacquer a PVC or aluminium door? Here you can find a step-by-step plan including the answers to these questions, useful tips and products that you can use.
Further down this page, we'll also give you a step-by-step plan for painting your exterior doors. What do you paint your front door with? What is the best way to paint an external door? What is the right order if you want to repaint an old front door? How do you paint the door without streaks?
Of course, you will find the answers to all these questions on this page too, as well as our very best tips.
How to paint doors on the inside
Step 1: Preparation
Step 2: Applying primer
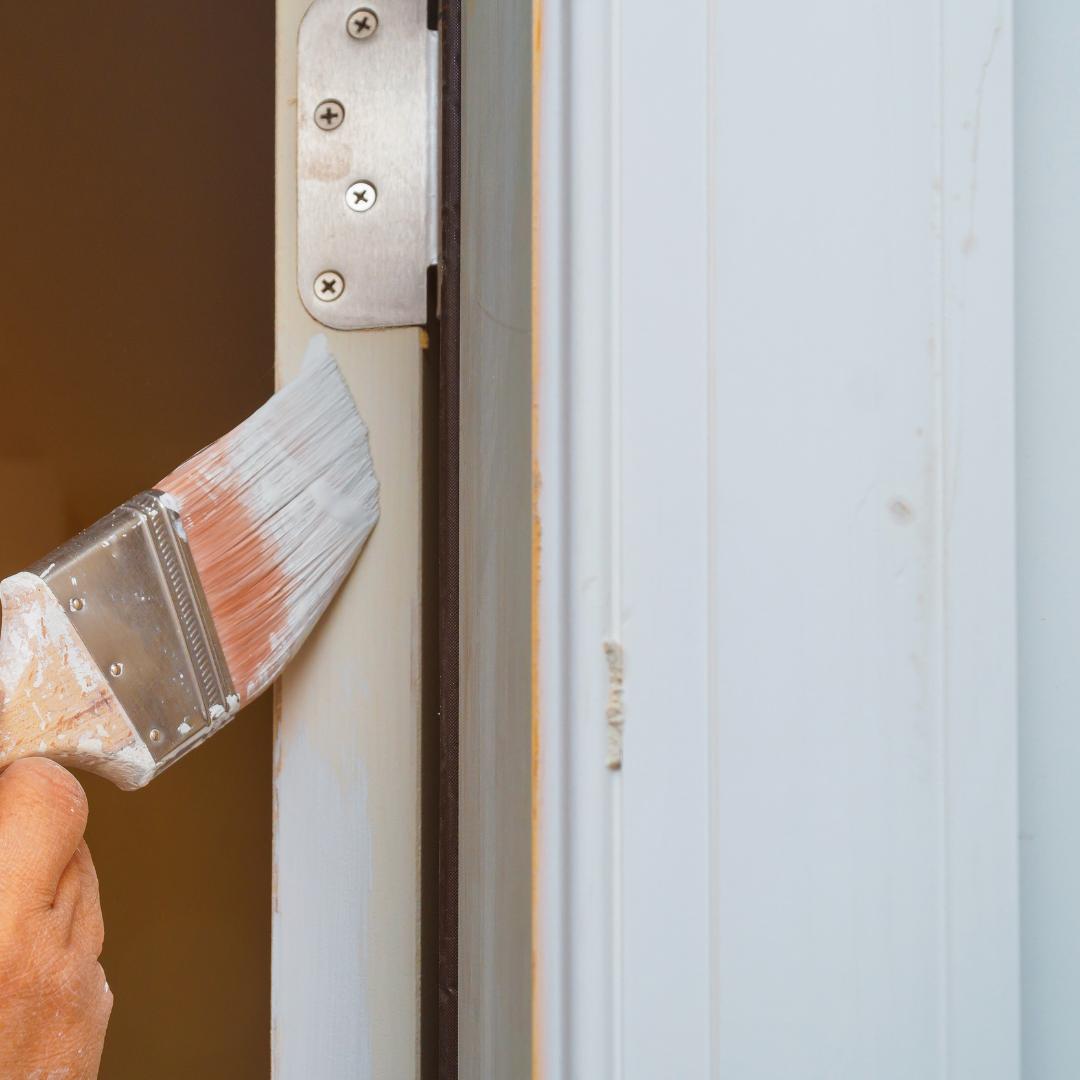
Step 3: Lacquering
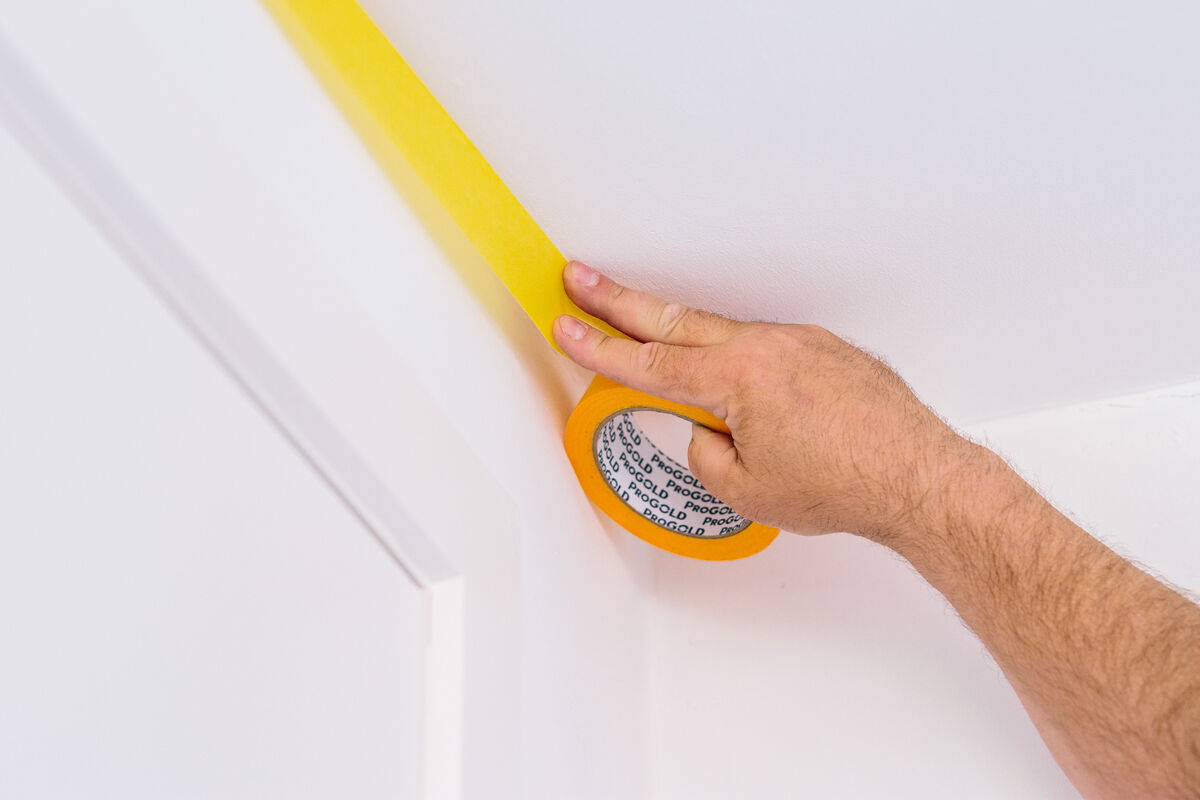
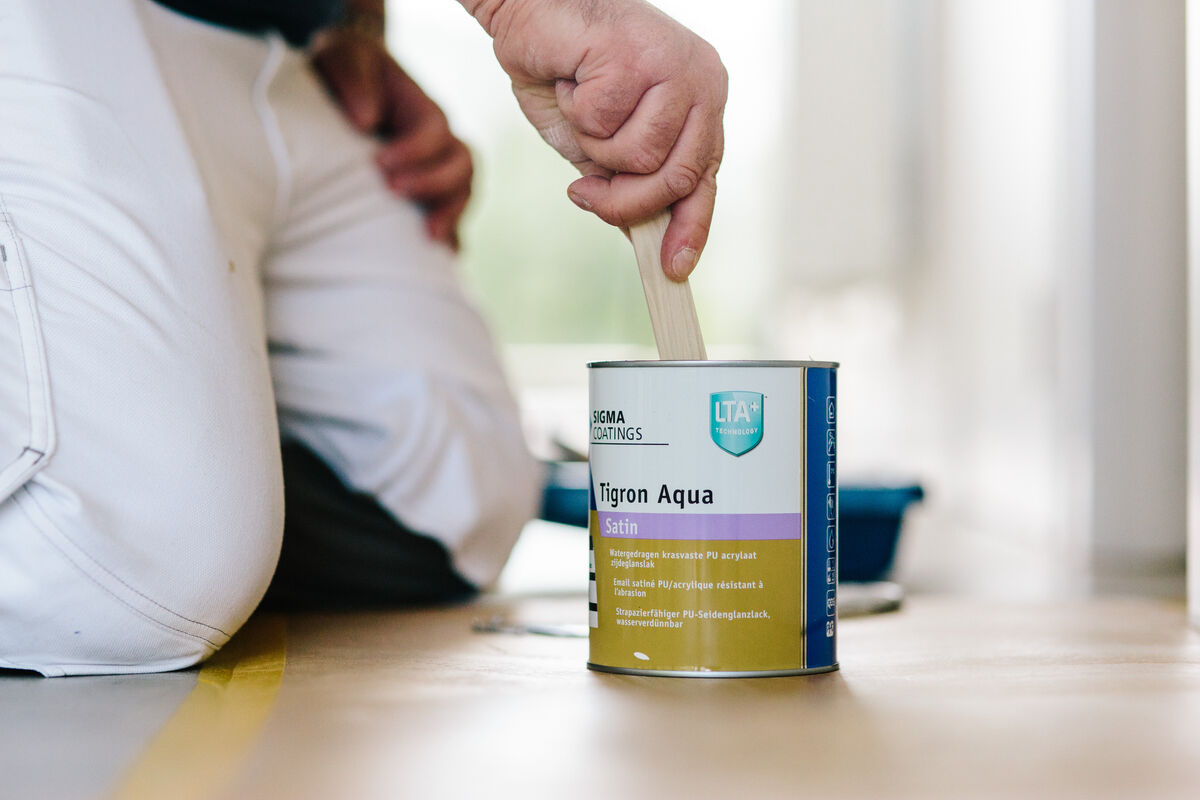
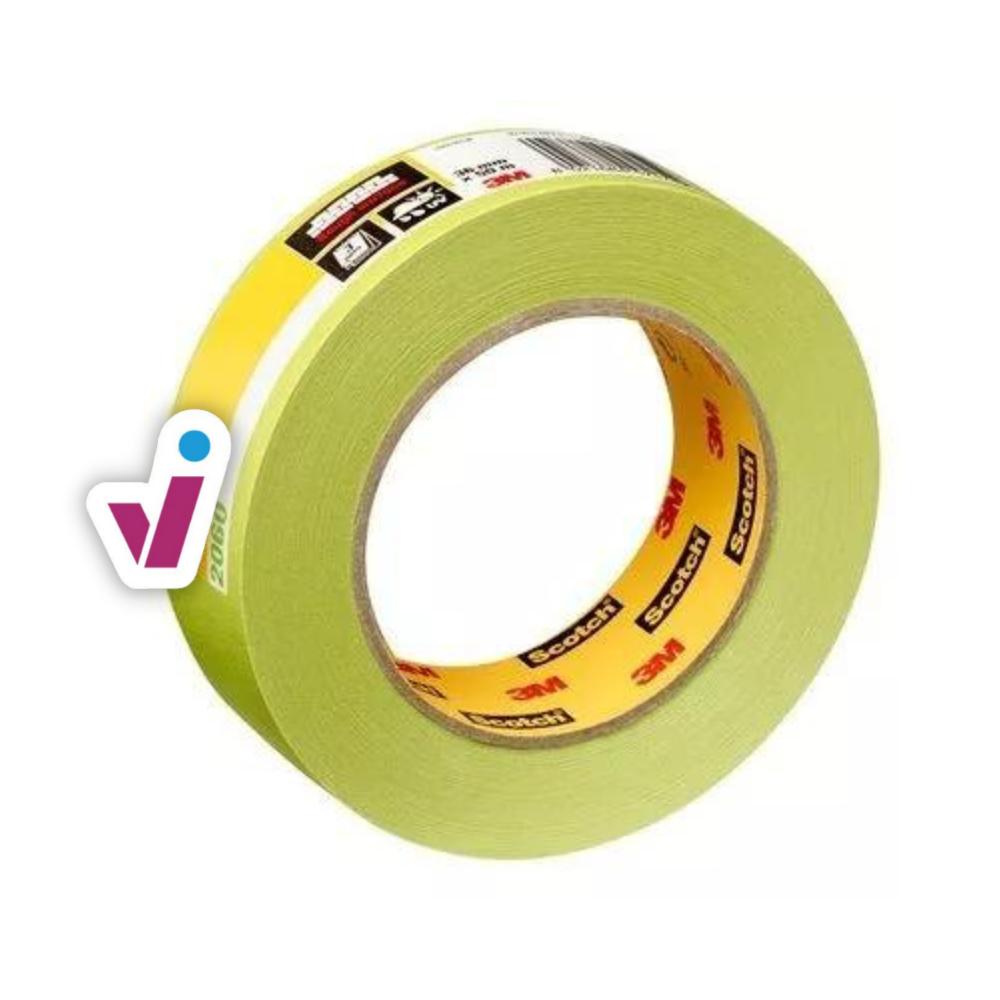
First of all, you can either take the door out of its frame and remove the hardware and door handles, or you can use masking tape to cover the parts that do not need to be painted. If you're going to paint the door frame as well, then it's better to tape off the adjoining walls too.
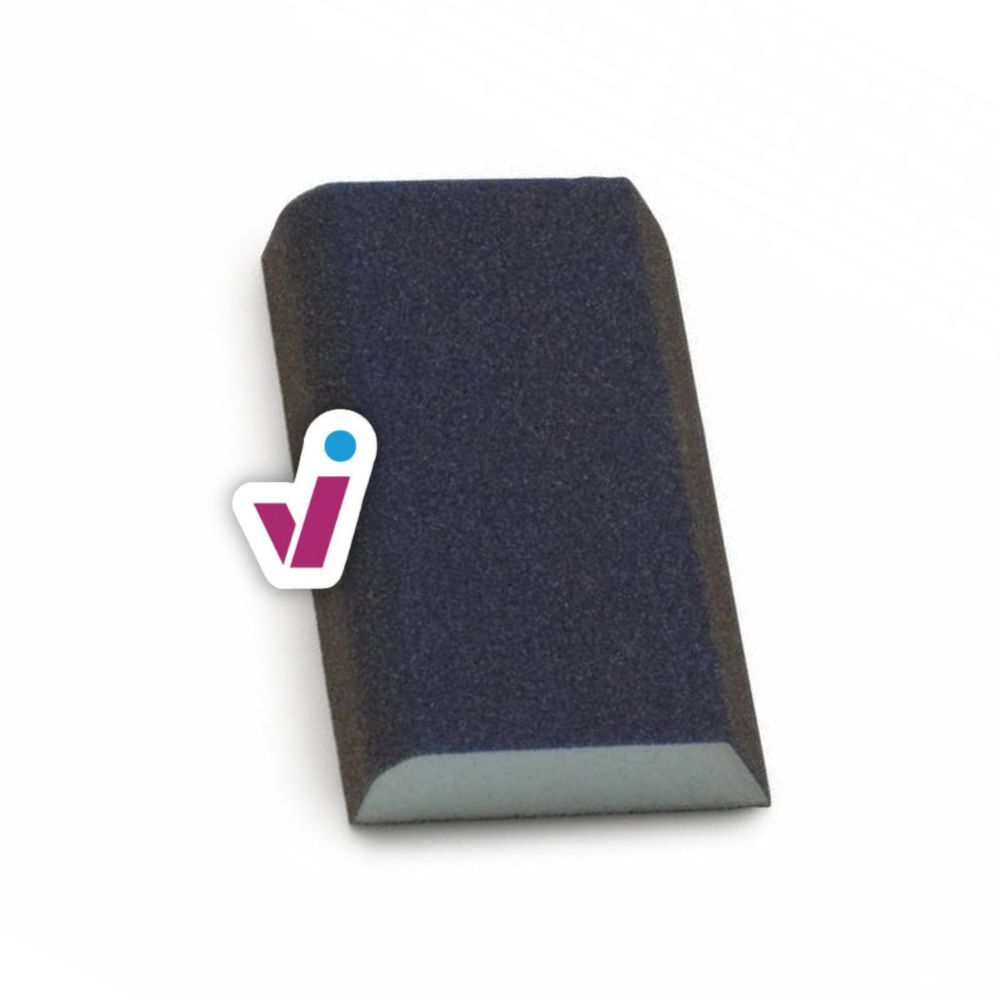
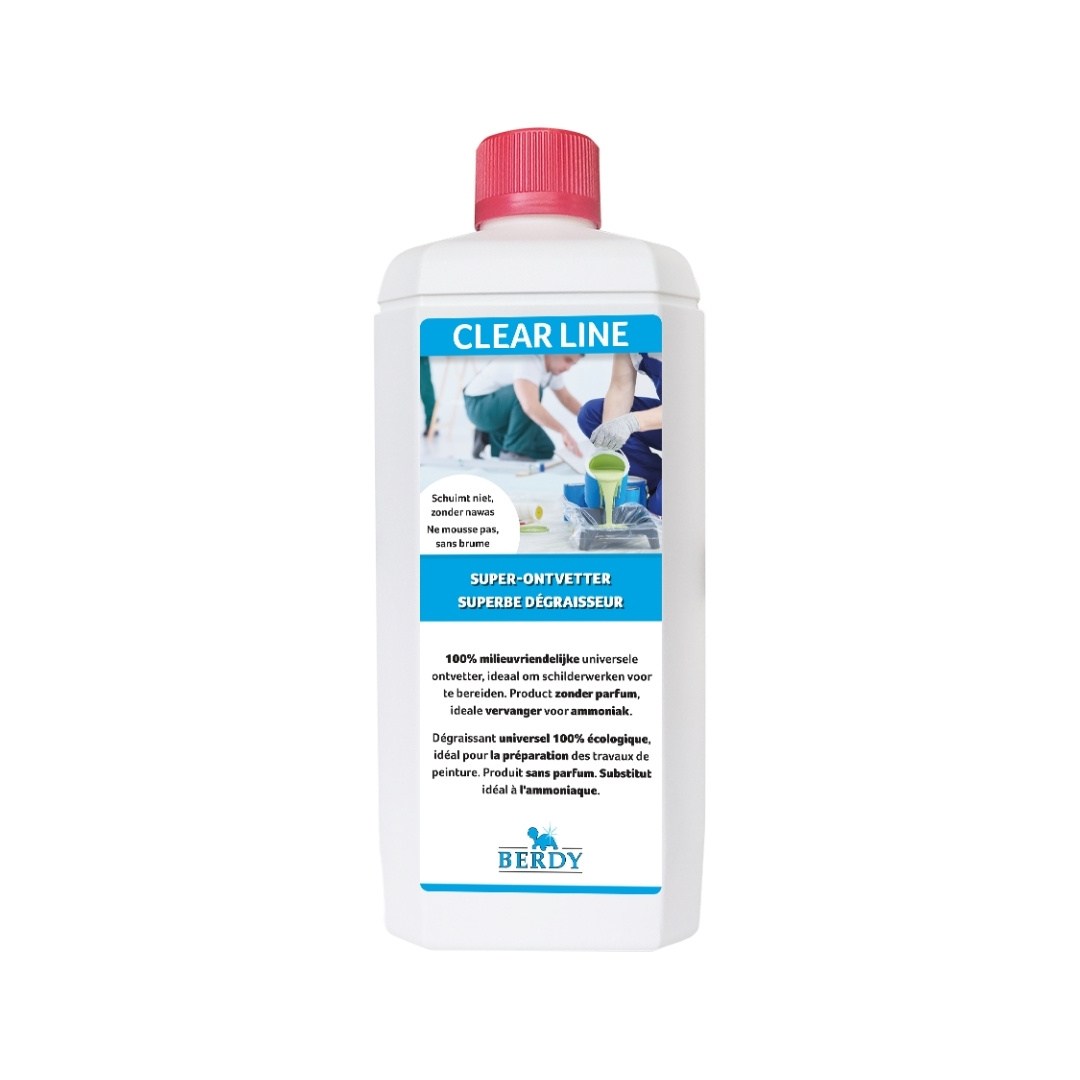
Prepare your door by cleaning and degreasing it, and then sanding and dusting it. The large, even surfaces of the door can be easily sanded with a sander. For the smaller details, it's better to sand manually.
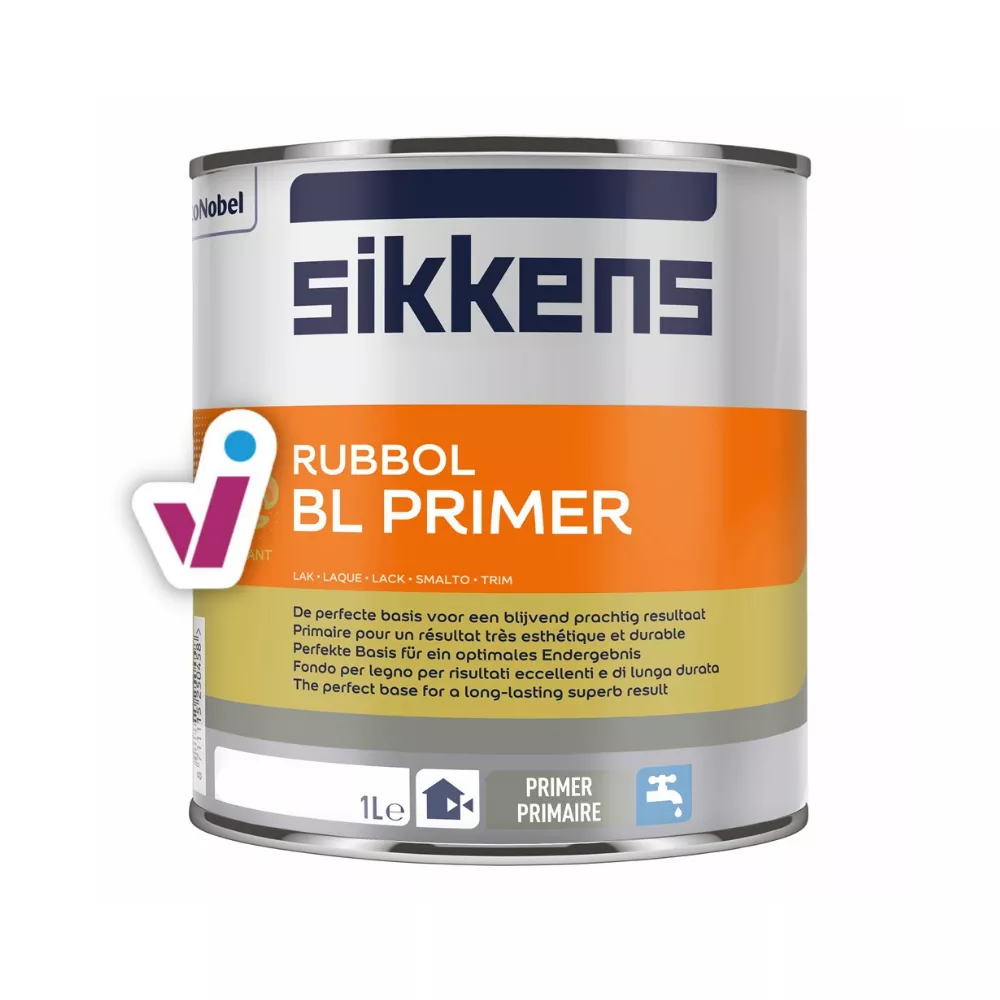
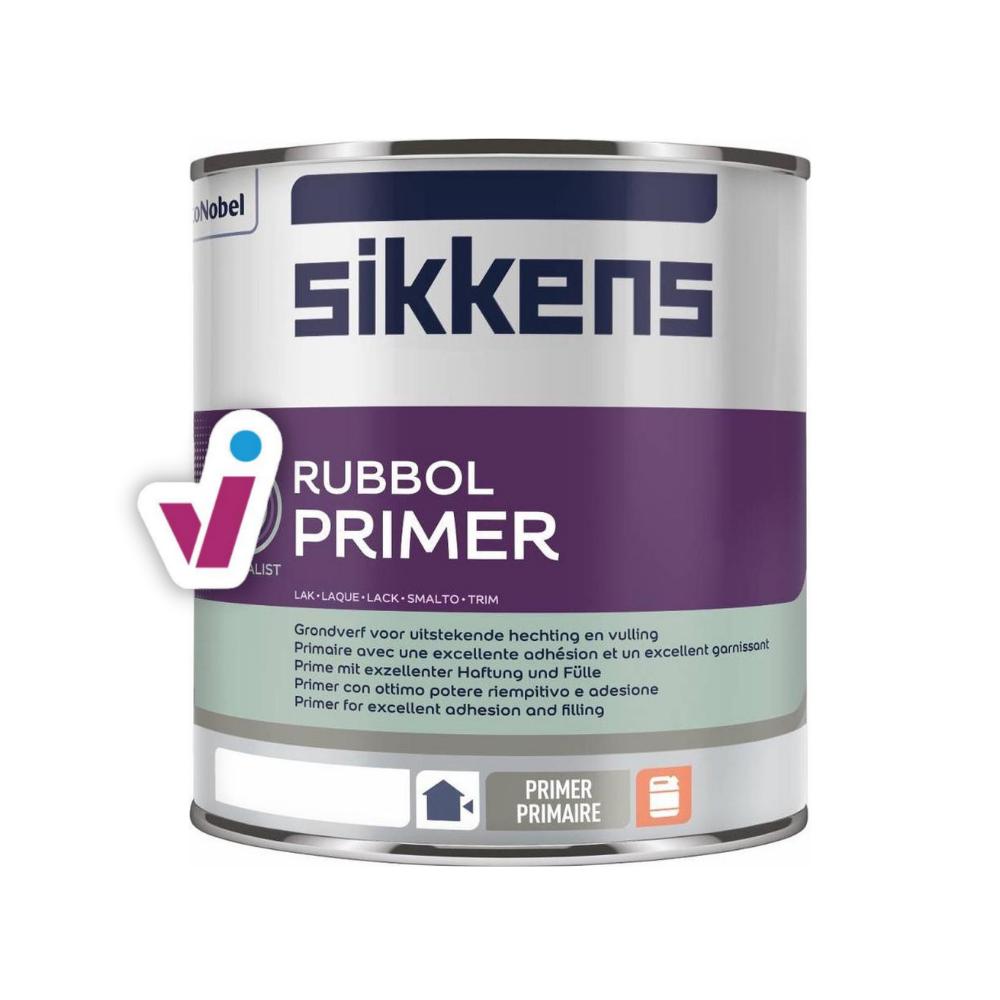
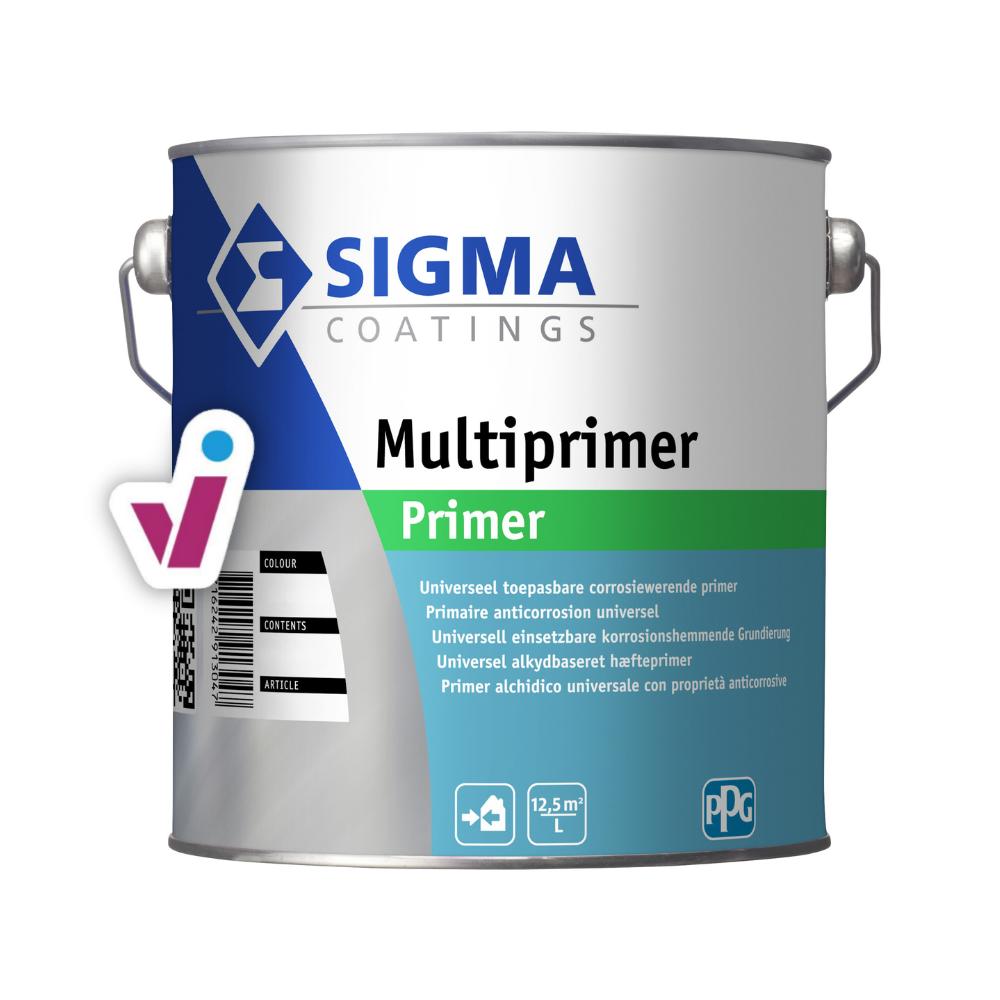
For wooden inner doors and door frames, it's best to use a water-based primer. For a good final result, you definitely need two coats of primer. If your doors have been painted before and the layer of paint is still in good condition, you do not need to apply primer and after cleaning and sanding, you can immediately start applying the topcoat.
The last step is to finish the door with a lacquer of your choice. Be sure to check the paint's specifications for outside doors to see if it is suitable for outdoor use. Synthetic paints are usually more resistant to outdoor conditions, and high-gloss paints too often work well outdoors because they reflect sunlight, limiting the effects of prolonged exposure to the sun.
Finally, you'll need one more finishing coat. After that, you can remove the tape or put the doors back on - and you're done!
How to paint your front door
Step 1: preparation
When you are going to paint an external door, your preparation is not that much different from when you are going to paint the door along the inside. Again, you may choose to remove the door from its frame and place it on trestles, for example, to paint.
You can then also file the hinges and door handle off the door, or cover them with tape. Also, if you choose to leave the door in the frame, or if you want to paint the frame with it, it is best to cover things up. Think about the wall around it, or the floor.
With exterior doors, you will need to pay even more attention to proper cleaning beforehand than with interior doors. Start by removing all loose paint, dirt and dust from the door. Clean the door thoroughly with soap and water or use a good degreaser diluted in water, rinse and allow to dry completely. If your front door is very dirty, a pressure washer may come in handy.
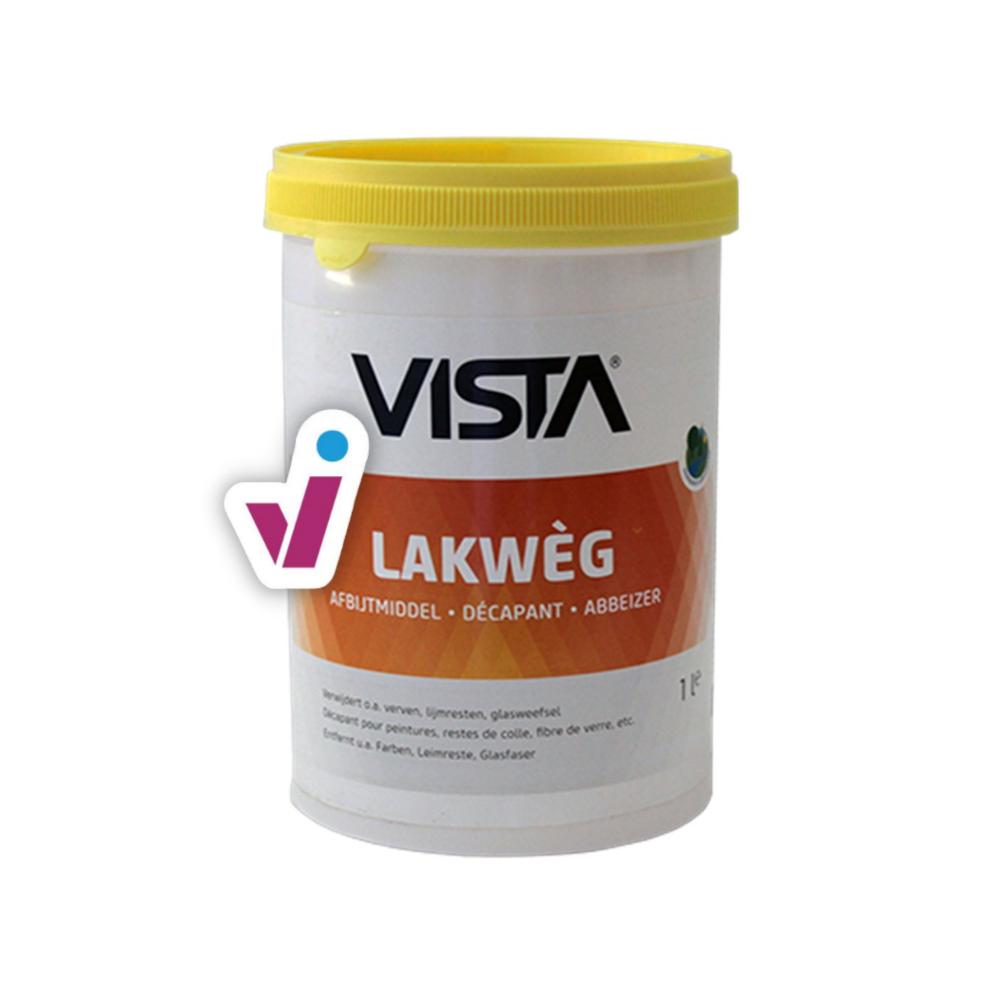
Was the door painted before and is the paint coming loose? Then it is best to remove the old paint layer, for example with paint remover.
Furthermore, especially with wooden doors, it is important to give the door a good sanding. This will ensure that the surface lends itself better to good adhesion. On the other hand, a smoother surface will also help you achieve a tighter end result. Remember: after sanding the door, make it dust-free again.

Step 2: applying primer
Step 3: lacquering
What paint to use on an exterior door?
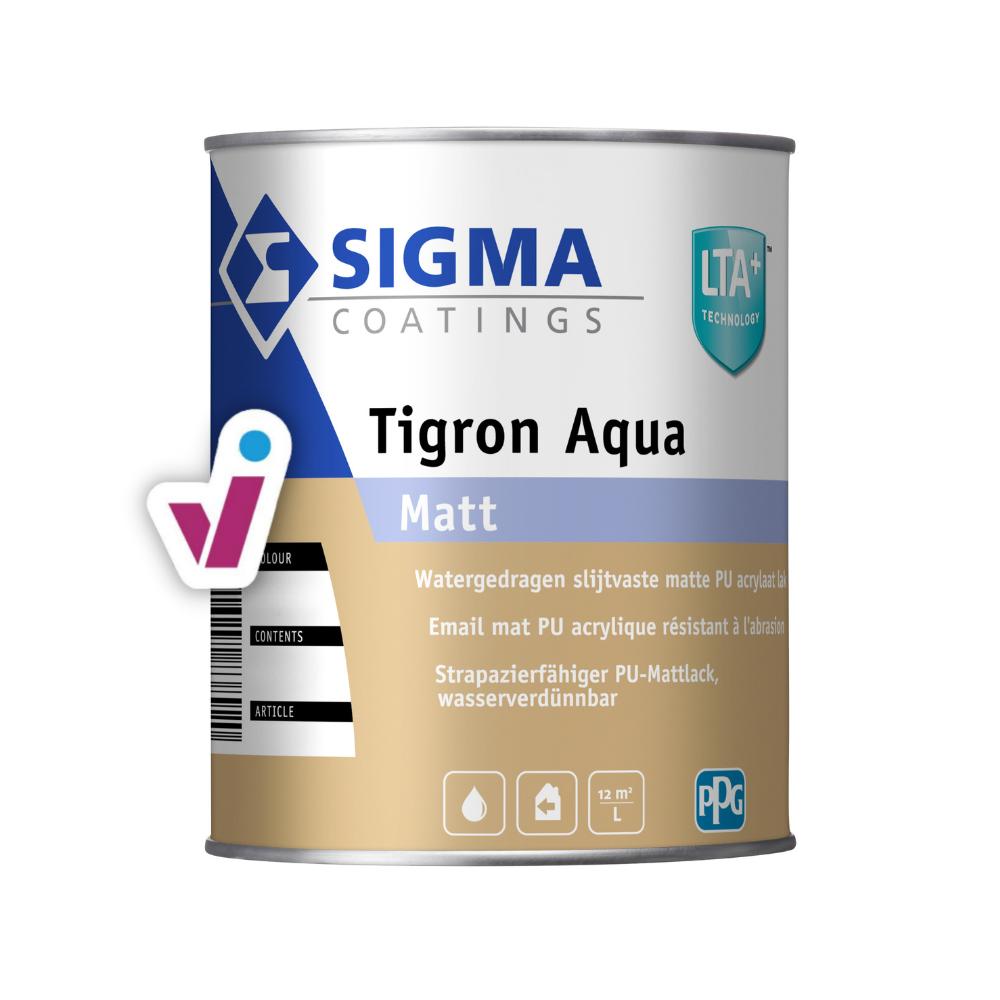
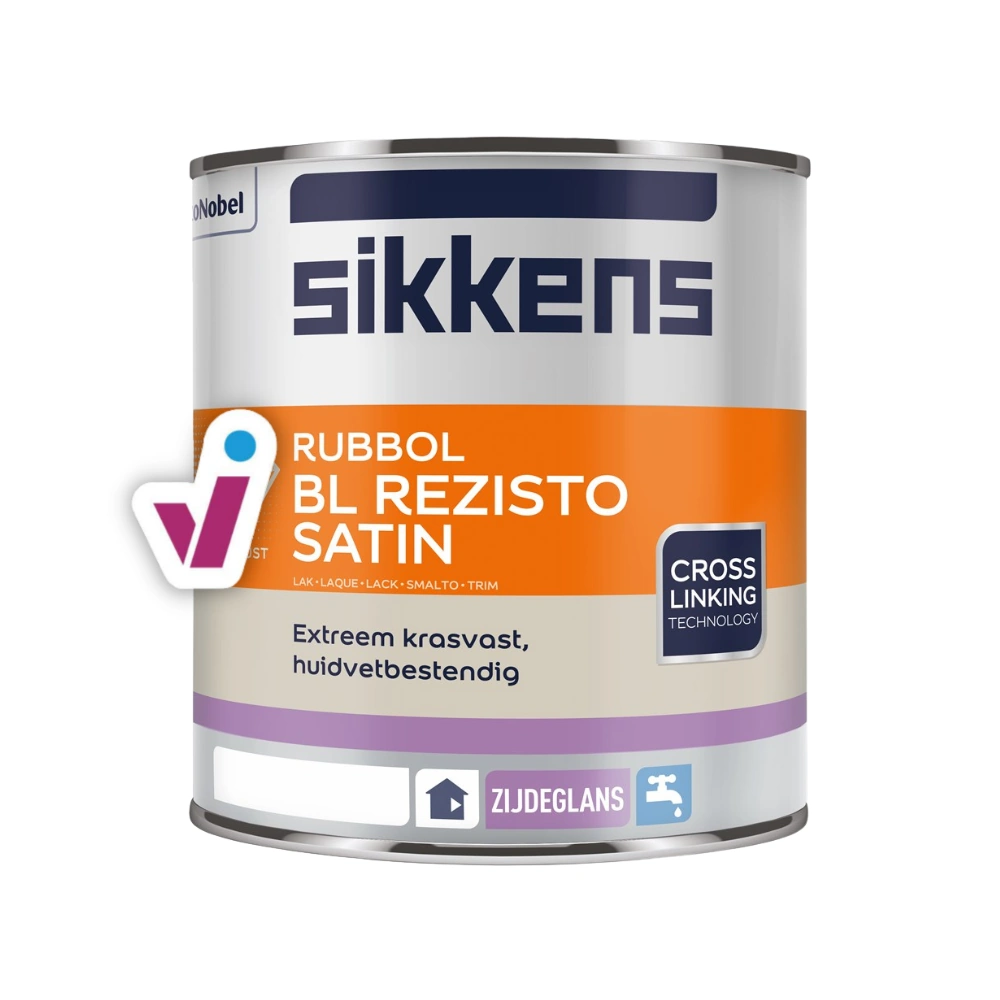
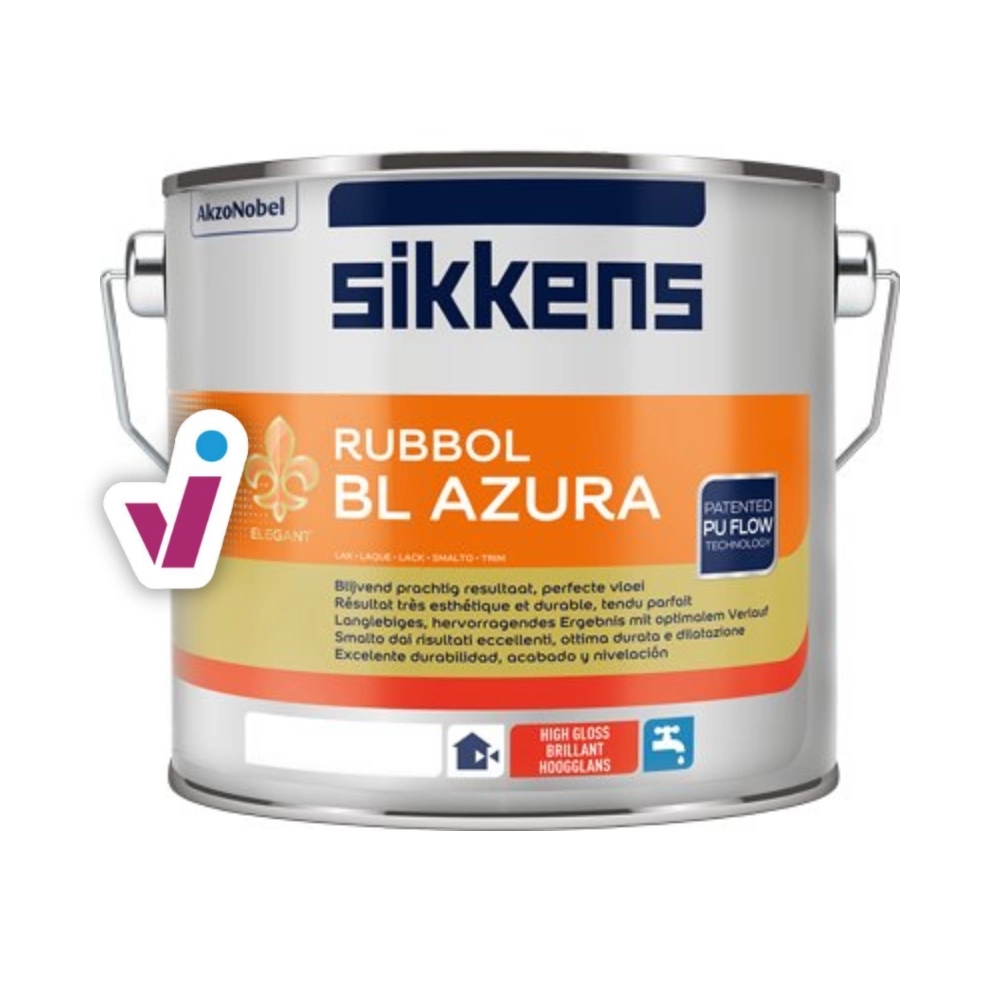
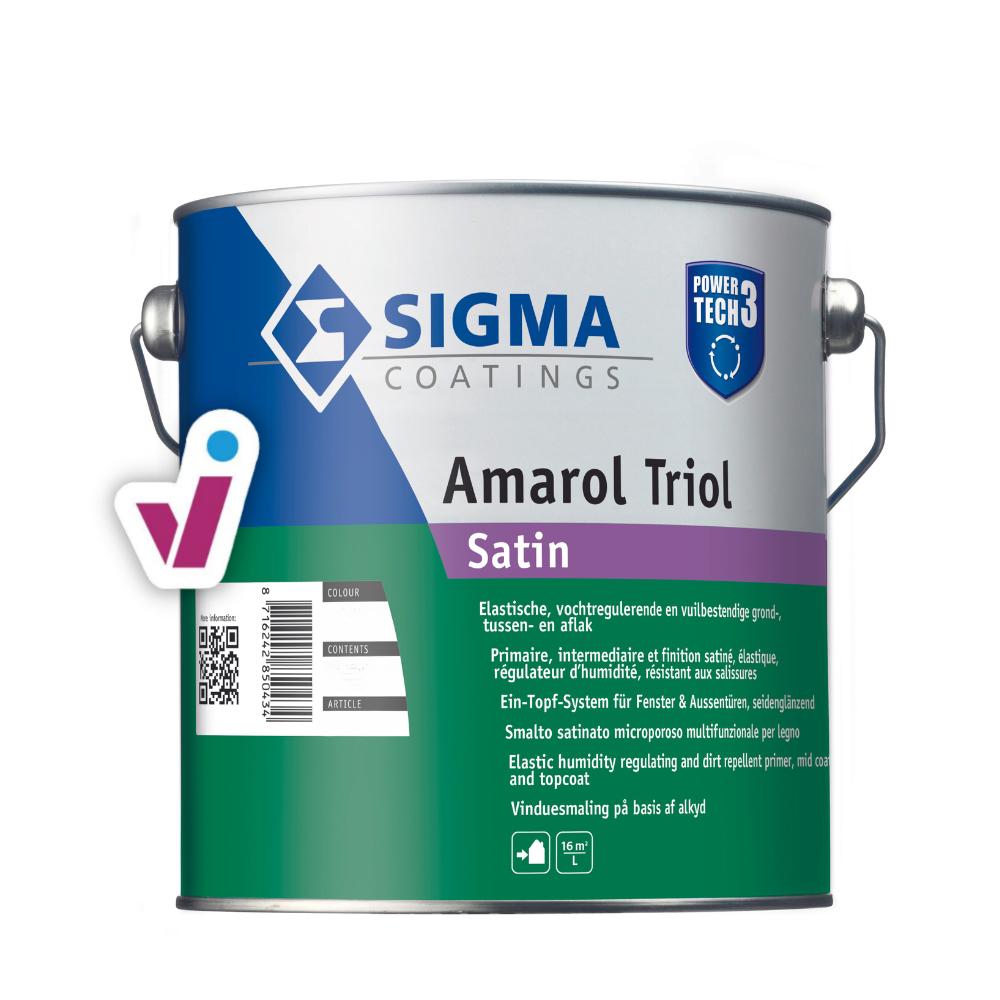
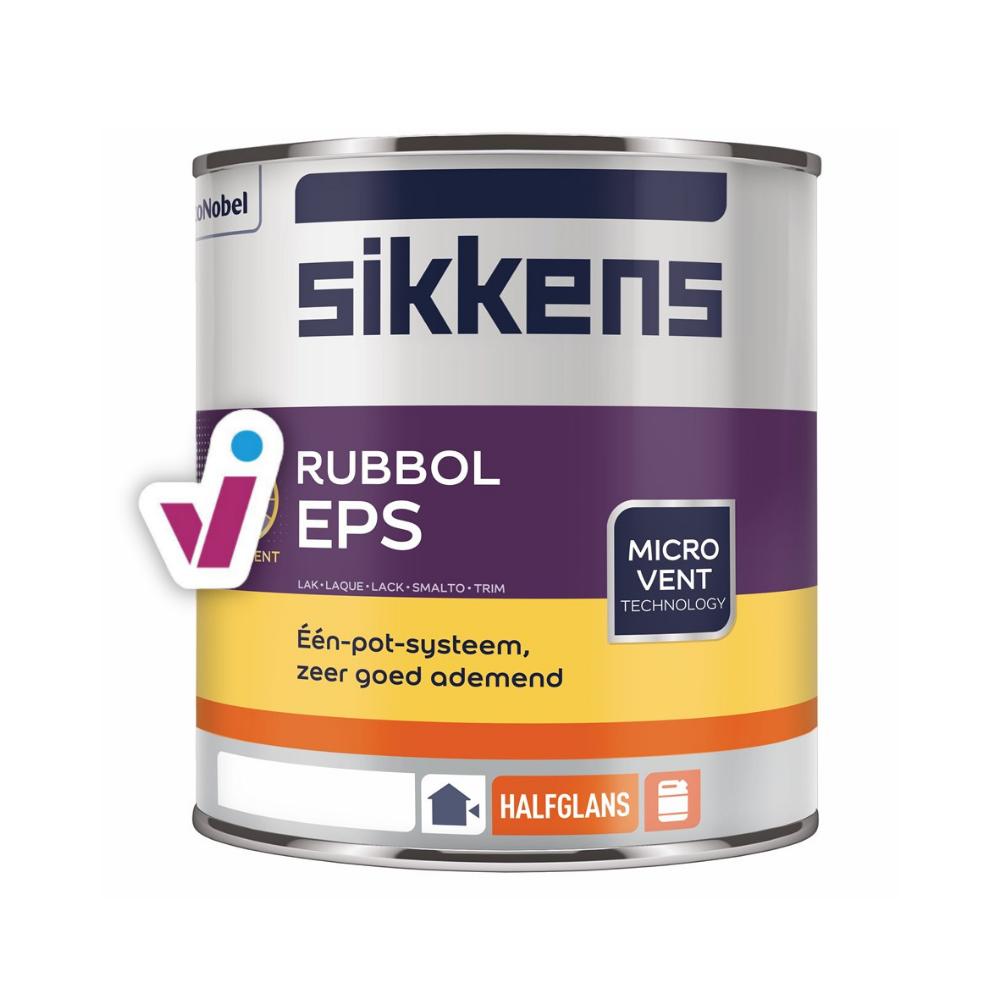
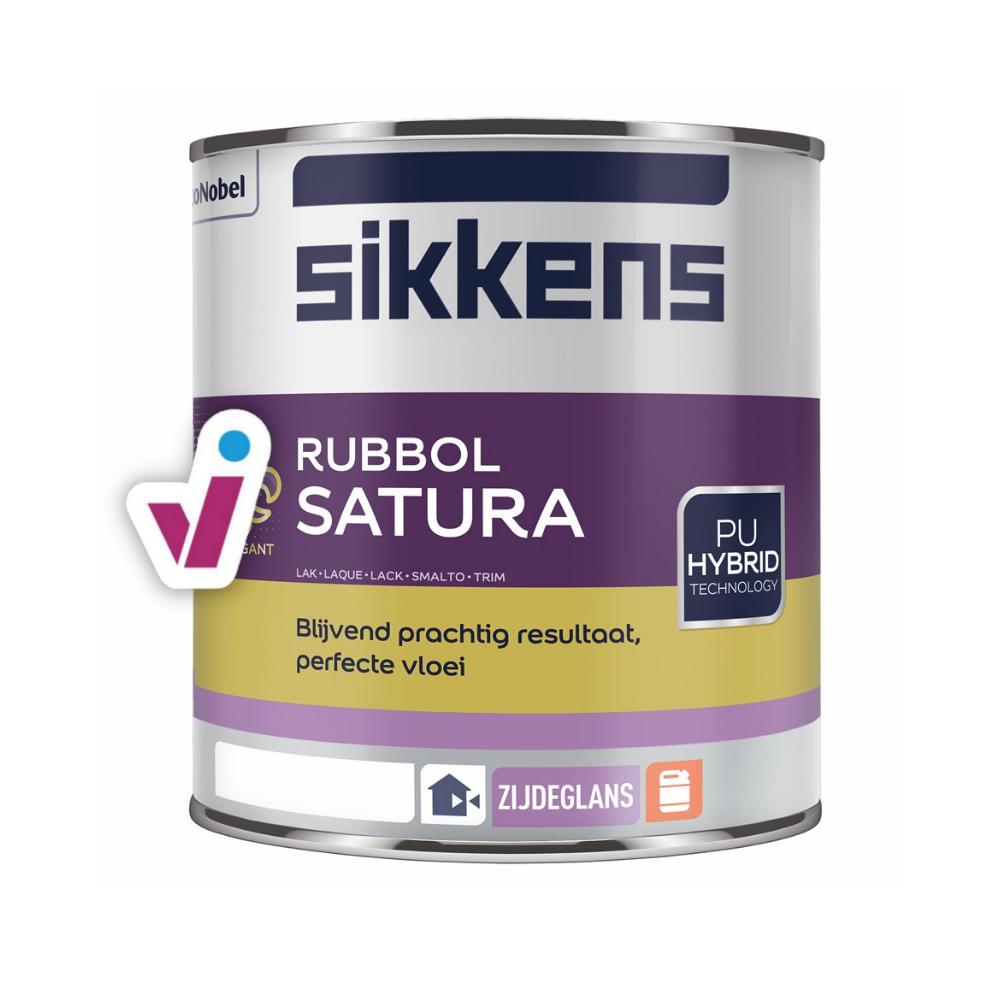
Good news: choosing paint for your exterior door is not at all difficult if you have already applied the right primer! You can choose from a whole range of synthetic paints, such as Sigma Tigron paints, Sikkens Rubbol paints or Levis Expert Wood Lacquer Outdoor High Gloss or Satin.
If you were already using a one-pot system, then of course you just continue painting with that at this step.
How to paint the front door?
See, you've come a long way in painting your front door, good job! 💪 So now it's time for the final step: the finishing touches.
Here at Tintrio, we are often asked how to paint the front door without streaks. In that case, is it best to use a brush or rather a roller, or does it not matter that much?
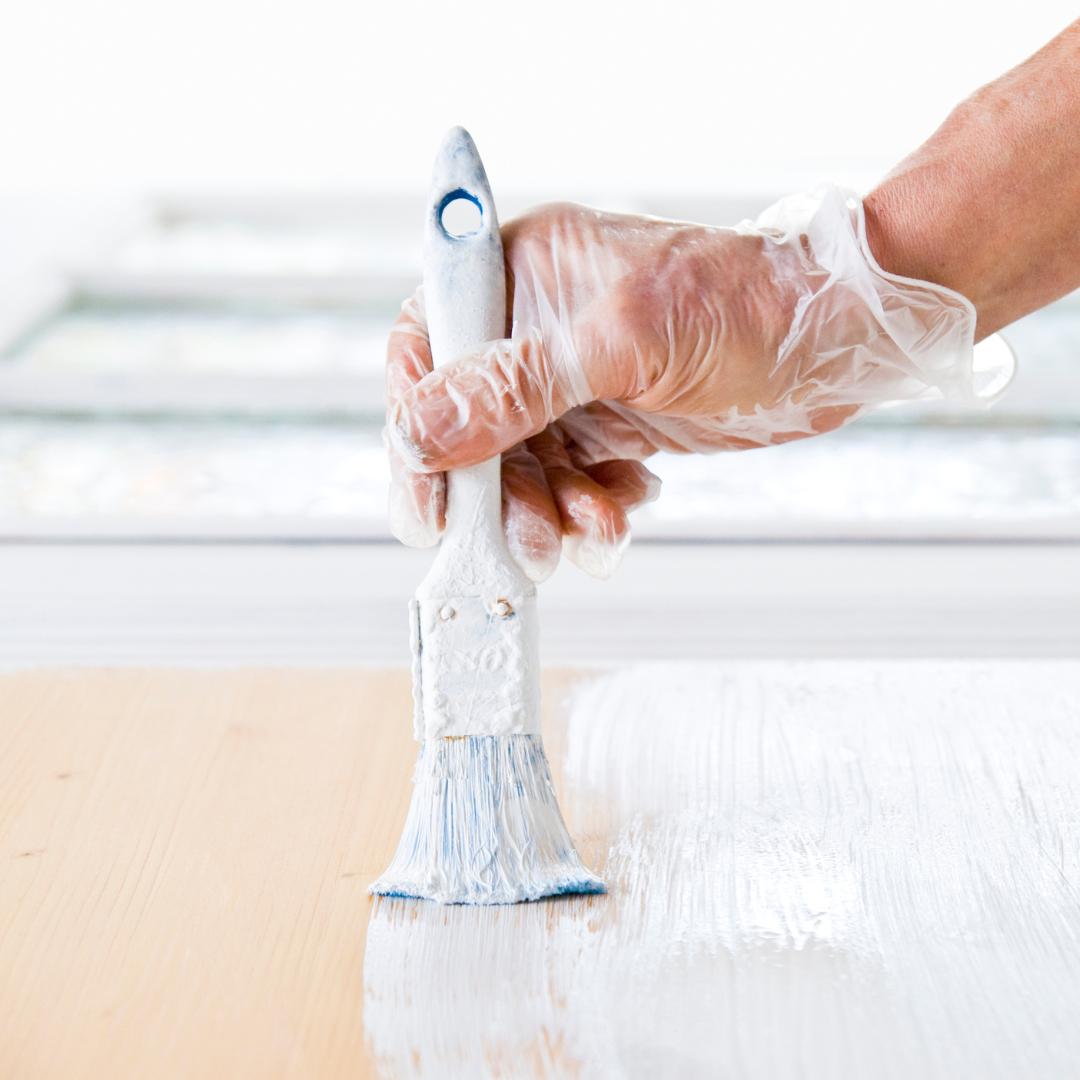
In any case, it is essential that you choose a lacquer with a good flow, i.e. that the lacquer flows open and forms a smooth(er) layer of paint in which you will see few or no stripes. Synthetic lacquers generally have a better flow, fortunately, because they dry more slowly, so you already have that advantage!
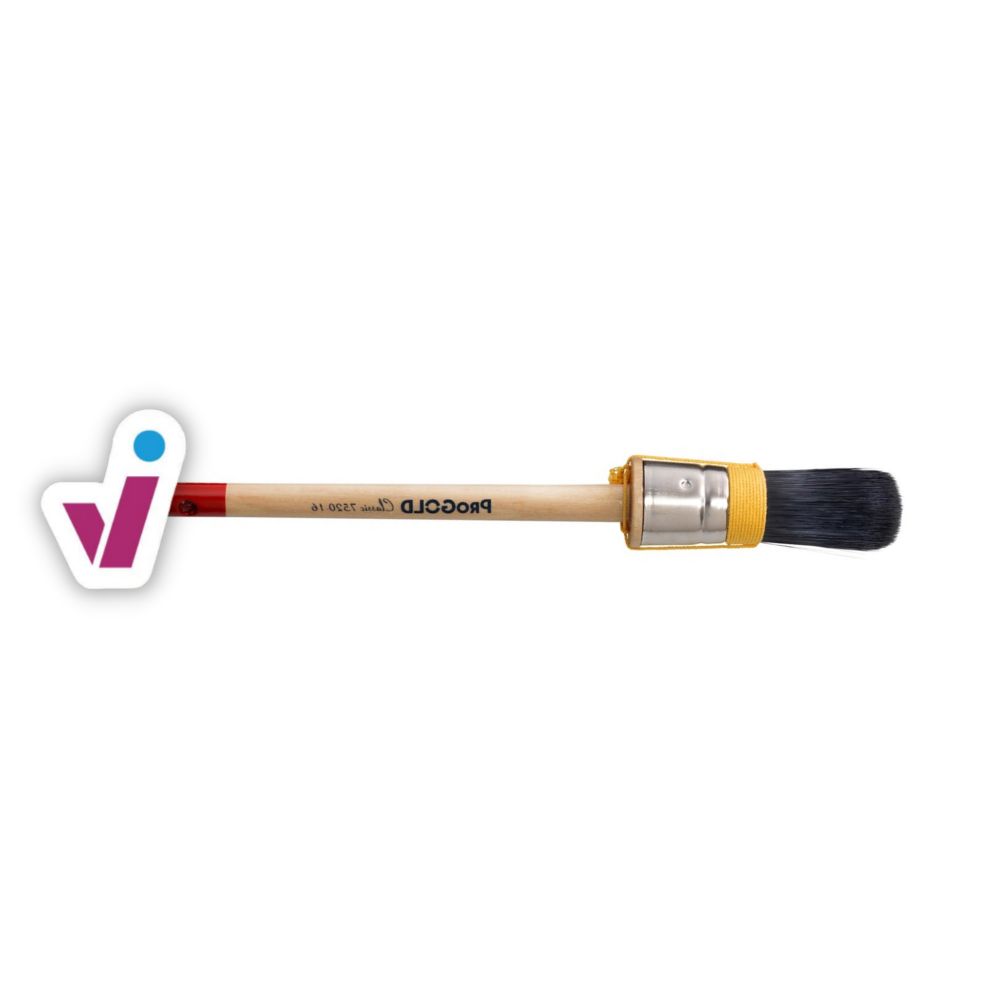
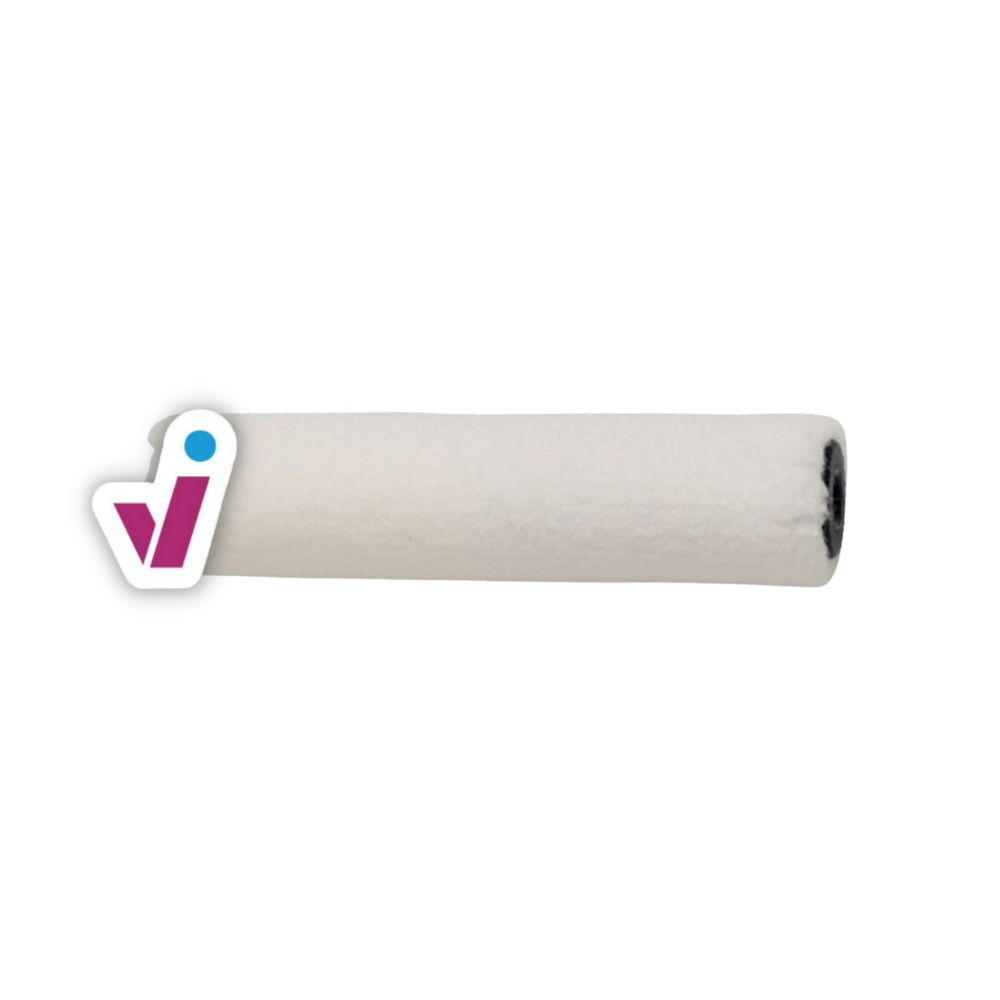
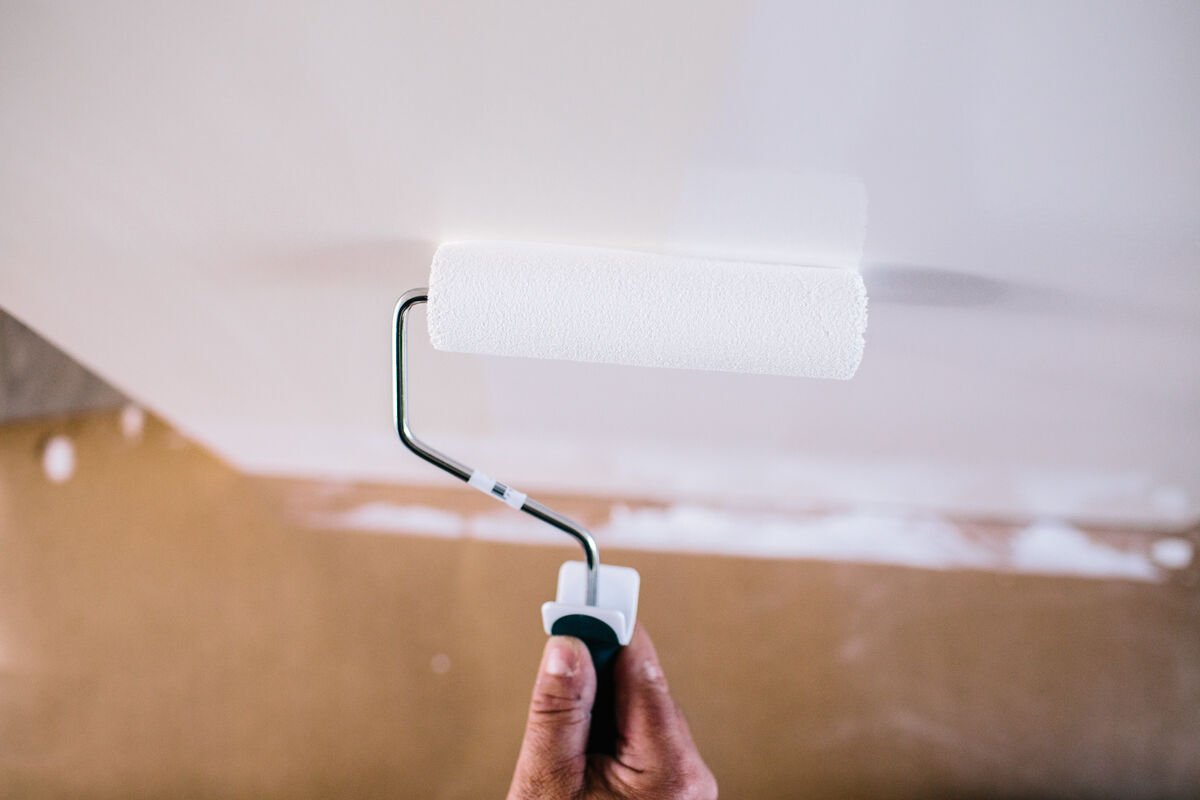
For the very best results, we do recommend choosing a paint roller matched to that synthetic paint, such as the Anza Platinum Antex Microfibre roller or the Progold paint roller felt. Three more tips for streak-free results:
- Wait for the right (outdoor) temperatures to plan your painting work, make sure it is not too hot.
- No paint, no flow. If you work with water-based lacquer, make sure you take enough paint on your roller and do not apply too much pressure while rolling, so that your paint layer is thick enough. Note that if you are working with a synthetic lacquer, it is the other way round: you do have to roll it open well, because it is harder to handle.
- Keep going. Try to completely finish the door in one go, and also try to keep a good pace.

Yet another question we sometimes get: when can the door be closed again? Of course, the paint really does have to be he-all-dry before you can use your door again. This can take a few hours, sometimes up to a day or more, depending on the drying time mentioned in the paint's technical data sheet and on the conditions (think of the temperature outside or the humidity).
Bear in mind that the drying time in the technical data sheet is based on an ambient temperature of 20°C. So if it is very cold when you paint, your paint will need just a little longer to dry. Especially with synthetic paints it is important to pay attention to this, as they need sufficient time to harden.
Patience is the key here. What you can (and even should) do while the paint is still wet is remove the tape.
Checklist
- Sand very well
- Degrease properly
- Apply the primer
- Lacquer perfect
- Enjoy your work
Need help?
If some of the steps aren't entirely clear to you, or if you are in a specific situation that isn't covered by our how-to guide, then our experts will be happy to help.


